How To Enable Or Disable USB Ports In Windows 10
Introduction
A key feature in the Windows family is to enable or disable the USB Ports. We can also use this feature in Windows 10 to enable or disable the USB Ports.
Often we have to share our laptop or PC with another person. The person who has a pen drive with viruses and infected files can inject these malicious files into the system to damage the device and also someone who has bad intentions can steal our important documents through pen drive. We can never be too careful to keep our data secure. Disabling the USB Ports is a very good solution to protect our device from viruses and other vulnerabilities
This tutorial will show you various methods on, how to Enable or Disable USB Ports in Windows 10.
Method 1 - Using Registry Editor
Using the Registry Editor, you can easily enable or disable the USB Ports.
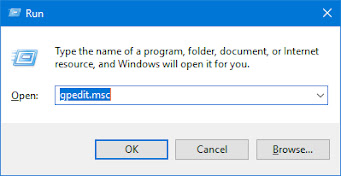
Step 1
From the Start menu, open the Run dialog box or you can Press the "Window + R" key to open the RUN window.
Step 2
Type "regedit.exe" and press enter to open Registry Editor.
Registry Editor.

Step 3
Registry Editor Window will be opened and Navigate the following path:
HKEY_LOCAL_MACHINE > SYSTEM > CurrentControlSet > Services > USBSTOR

Step 4
Click on the start option to open the "Edit DWORD (32-bit) Value" Window.

A) To disable the USB Ports or Drives, change the 'value data' to '4' and then click OK.

B) To enable the USB Drives or Ports, change its value to 3 and then click OK.

Step 5
Restart Your Laptop or PC to see the effects.

Comments
Post a Comment